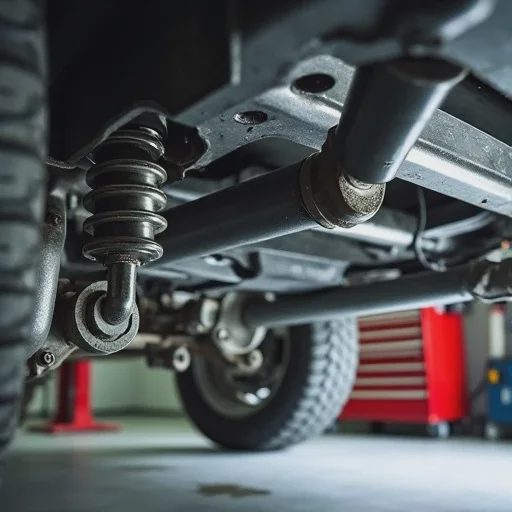
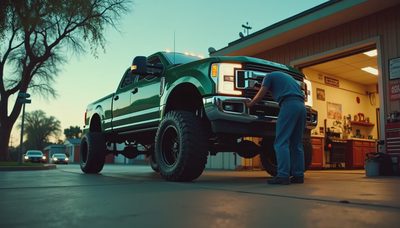
A 4-inch lift on a solid-axle truck changes more than the height. It changes the entire geometry of the front suspension. The track bar and drag link are supposed to be parallel. They need to have the same angle. When you lift the truck, the axle drops, and the track bar gets steeper. The drag link follows the steering box, which doesn't move. Now the angles don't match.
That mismatch causes bump steer. Hit a bump at speed, and the axle moves up. The track bar pushes the axle sideways. The drag link doesn't move the same amount. The steering wheel turns on its own. It's unnerving, and it's dangerous.
There's a fix. It's called a drag link flip. It's not complicated, but it's precise. Here's exactly how I do it.
What Bump Steer Feels Like
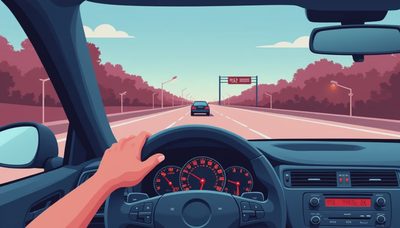
If you've never experienced bump steer, imagine this: you're driving down a highway at 65 mph. You hit a bridge expansion joint. The truck's front end moves up, then down. When the suspension compresses, the steering wheel turns a quarter turn to the right. When it rebounds, the wheel turns a quarter turn to the left. You're fighting the wheel for control of the truck.
That's bump steer. It's caused by the drag link and track bar moving in different arcs. They're supposed to be parallel so they move together. When they aren't, the axle steers itself.
The Geometry Problem
On a stock JK Wrangler, the track bar and drag link are roughly parallel. They're both anchored to the frame on one end and the axle on the other. The angles are matched.
When you lift the truck 4 inches, the axle moves down. The track bar now angles up from the axle to the frame mount. The drag link still runs from the steering box to the knuckle. The angles diverge. The track bar pushes the axle sideways when it moves. The drag link doesn't compensate. The result is bump steer.
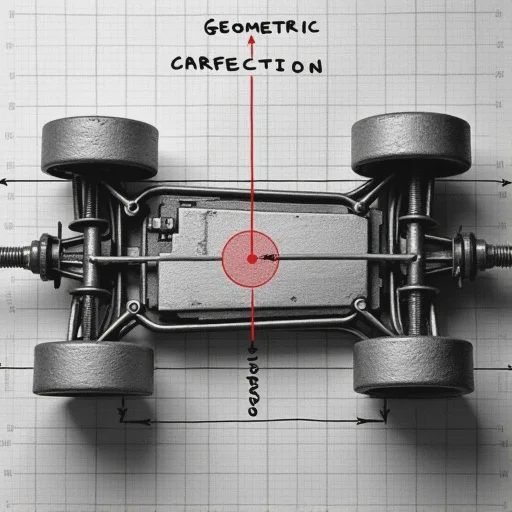
The Drag Link Flip Explained
The drag link flip is exactly what it sounds like. You flip the drag link from above the knuckle to below it. This changes the angle of the drag link, making it closer to the track bar angle.
Here's how it works:
The drag link normally mounts to the top of the passenger side knuckle.
You remove the drag link from the top.
You ream the knuckle opening from the bottom so the drag link taper fits from below.
You install the drag link from the bottom, with the nut on top.
The drag link angle now matches the track bar angle.
The result is a front end that tracks straight over bumps. No more fighting the wheel.
The Step-by-Step Install
I've done this enough times to know exactly what works. Here's my process:
What You Need
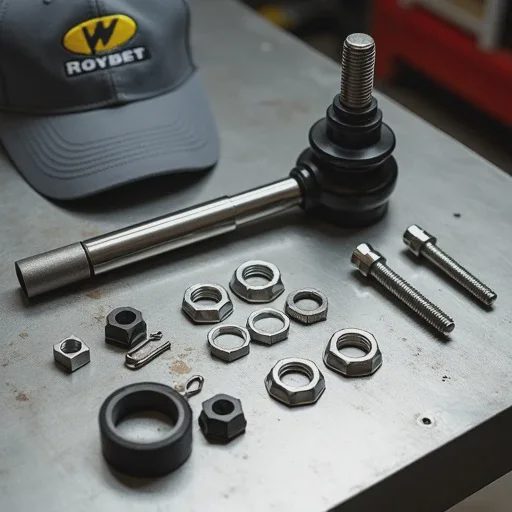
Drag link flip kit (includes reamer or drill bit, new hardware)
Heavy-duty drill or reamer
Torque wrench
1/2-inch drive ratchet and sockets
Penetrating oil
Pry bar
Jack and stands
Step 1: Disconnect the Drag Link
Remove the cotter pin and castle nut from the drag link end at the knuckle. Use a pickle fork or tie rod separator to pop the taper out. It will be tight. That's good. It means the taper is still intact.
Step 2: Ream the Knuckle
This is the critical step. The taper on the drag link stud is designed for a top-down install. To flip it, you need to ream the knuckle from the bottom.
Using the reamer provided in your kit, ream the hole from the bottom side. Go slow. Take a little material out at a time. Test-fit the drag link stud frequently. You want the taper to engage fully, with the stud sitting exactly flush at the top.
Step 3: Install the Drag Link
Insert the drag link stud from the bottom of the knuckle. The stud should protrude about a half-inch above the top of the knuckle. Install the washer and nut on top. Torque to the manufacturer's spec. On a JK, that's usually about 60 ft-lbs.
Step 4: Check Clearance
With the drag link flipped, check clearance between the drag link and the track bar. They should be close but not touching. If they touch, you'll need an adjustable track bar or a track bar bracket to create clearance.
Step 5: Install a New Cotter Pin
Always use a new cotter pin. Bend the ends securely. A loose cotter pin means a loose drag link end. That's a failure waiting to happen.
Step 6: Test Drive
Test drive on a road with expansion joints or potholes. You should feel a noticeable reduction in bump steer. If you feel zero change, something else in the suspension is causing the bump steer.
What Can Go Wrong
The drag link flip is straightforward, but there are pitfalls.
Using the Wrong Reamer
Different drag link studs have different tapers. Some brands use a 7-degree taper. Others use 8 degrees. Use the reamer that matches your specific drag link. Mixing them up creates a loose fit that will fail.
Over-reaming the Knuckle
You can't add material back. Ream in small increments. Test-fit often. If you over-ream, the drag link stud will sit too deep, and the nut will bottom out before it's tight.
Not Adjusting the Steering Stop
Flipping the drag link changes the steering geometry slightly. On some trucks, the tire will rub the drag link at full lock. You may need to adjust the steering stop bolts on the knuckles.
The Difference It Makes
I've done a drag link flip on at least 50 lifted trucks. Every single customer has said the same thing: "Why didn't I do this sooner?"
The truck tracks straight over bumps. The steering wheel doesn't wander. The highway driving confidence is completely different.
Here's what a customer told me after I did his JK: "Walt, I had that lift for two years. I thought bump steer was just part of the deal. I didn't know you could fix it."
You can fix it. The fix is an afternoon of work and about $150 in parts.
When Not to Do This
The drag link flip is for trucks with 3 inches or more of lift. On smaller lifts, the geometry change isn't enough to require it. On 1.5-inch to 2-inch lifts, the factory angles are close enough.
On trucks with a track bar relocation bracket, you might not need it either. The bracket lowers the track bar mount on the frame, restoring the parallel relationship. But a track bar bracket introduces its own issues—it's a lever arm on the frame mount, which can flex. I prefer the drag link flip over a bracket.
The Bottom Line
Bump steer is dangerous. If your lifted truck wanders over bumps, the geometry is wrong. A drag link flip is one of the simplest and most effective fixes.
I've been doing this long enough to know what works. The drag link flip works. It's proven. It's precise. And it doesn't cost much.
The bolt doesn't lie. And a properly aligned drag link doesn't steer itself.

No letters yet — pray write the first.